Post-processing is an essential part of modern photography. While getting it right in camera should always be the goal, thoughtful editing allows you to refine your vision, correct technical issues, and create a consistent style. In this guide, I'll walk you through a professional post-processing workflow that enhances your images while maintaining their natural beauty and authenticity.
Before You Begin: Setting Up for Success
An efficient workflow starts with proper preparation:
- Calibrate your monitor: Accurate color representation is crucial. Invest in a calibration tool like X-Rite ColorMunki or Datacolor SpyderX.
- Optimize your workspace: Edit in a dimly lit room with neutral gray walls if possible. Avoid bright overhead lighting or direct sunlight on your screen.
- Choose your software: Adobe Lightroom and Photoshop remain industry standards, but alternatives like Capture One, DxO PhotoLab, or Affinity Photo are excellent options.
- Create a folder structure: Organize by year, then event/shoot name (e.g., 2024 > Wedding_Smith_062024).
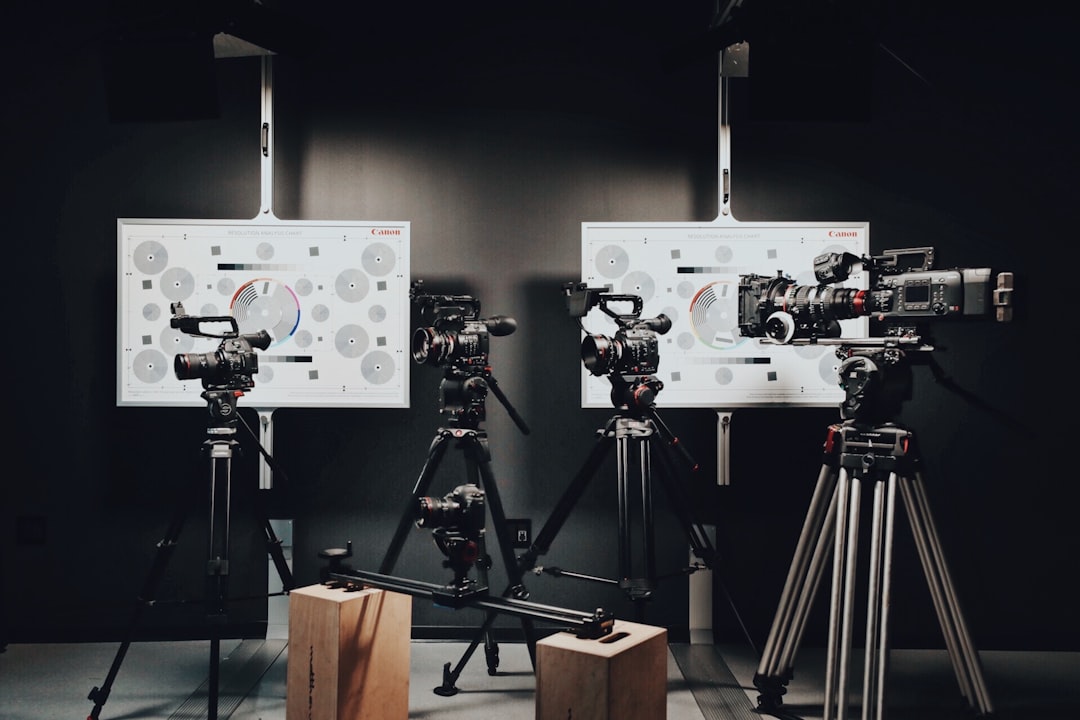
 An optimized editing workspace with calibrated monitor and controlled lighting
Step 1: Import and Organization
Begin with a methodical approach to importing and organizing your files:
- Import with purpose: During import, add basic metadata like copyright information, your contact details, and relevant keywords.
- Back up your originals: Before any editing, ensure your RAW files are backed up to at least two separate locations.
- First-pass culling: Remove obvious rejects (out of focus, severely under/overexposed, closed eyes, etc.).
- Rate and flag: Use stars, flags, or color labels to identify your best images. Consider using:
- 1 star: Technically okay
- 2 stars: Good image
- 3 stars: Very good, worth editing
- 4 stars: Excellent, portfolio potential
- 5 stars: Outstanding, showcase pieces
- Second-pass selection: Filter to show only 3+ star images for full editing.
Step 2: Basic Adjustments
Start with foundational corrections that apply to most images:
- Lens corrections: Apply profile-based lens corrections to remove distortion, vignetting, and chromatic aberration.
- Crop and straighten: Perfect your composition and ensure straight horizons.
- White balance: Correct color temperature and tint for accurate or creatively intended colors.
- Exposure adjustments: Set the overall brightness, then fine-tune with highlights and shadows.
- Contrast and clarity: Add dimension while being careful not to overdo these settings.
- Vibrance and saturation: Enhance colors naturally, typically favoring vibrance over saturation for more subtle results.
Pro Tip: At this stage, create a preset or use batch editing for images from the same shooting conditions to save time and ensure consistency.
 Before and after basic adjustments showing improved exposure, contrast, and color
Step 3: Local Adjustments
Now focus on specific areas that need targeted enhancements:
- Graduated filters: Perfect for balancing bright skies with darker foregrounds.
- Radial filters: Create subtle vignettes or highlight specific areas.
- Adjustment brushes: Use for precise local adjustments like:
- Dodging and burning (lightening and darkening areas)
- Sharpening eyes in portraits
- Reducing shine on skin
- Enhancing specific colors
- Range masks: In Lightroom, use luminance and color range masks to refine your local adjustments.
Remember that subtlety is key. Local adjustments should enhance the image without calling attention to the edit itself.
Step 4: Creative Adjustments and Style
With technical aspects addressed, focus on your creative vision:
- Color grading: Use split toning or color grading tools to add creative color to shadows and highlights.
- Tone curves: Fine-tune contrast in specific tonal ranges (shadows, midtones, highlights).
- HSL adjustments: Modify specific colors' hue, saturation, and luminance.
- Film emulation: Consider presets that emulate analog film looks if that suits your style.
- Grain: Add subtle grain for a more organic, less digital feel.
Pro Tip: For a cohesive portfolio, develop a consistent editing style. Create and refine personal presets that you can apply as starting points.
 Example of creative color grading with warm highlights and cool shadows
Step 5: Advanced Editing in Photoshop
For images that need more advanced work, move to Photoshop or similar pixel-based editors:
- Compositing: Combine elements from multiple images.
- Object removal: Use tools like Content-Aware Fill for more complex removals.
- Frequency separation: For high-end portrait retouching.
- Focus stacking: Combine multiple images for extended depth of field.
- HDR merging: For high dynamic range scenes (though this can often be done in Lightroom too).
Important: Always work non-destructively using adjustment layers, smart objects, and masks to preserve your ability to revise edits later.
Step 6: Final Touches and Quality Control
Before exporting, take time for these critical final steps:
- Sharpening: Apply appropriate output sharpening based on your intended use (web, print, etc.).
- Noise reduction: Fine-tune if needed, balancing noise removal with detail preservation.
- Final review: Check your image at both 100% zoom and fit-to-screen view.
- Before/after comparison: Ensure your edits have improved the image without going too far.
Step back from your screen periodically and revisit edits with fresh eyes. It's easy to become desensitized during long editing sessions.
Step 7: Export and Delivery
Create appropriate files for each intended use:
- Create export presets: Set up presets for different output needs:
- Web/social media (sRGB, JPG at appropriate size and resolution)
- Client delivery (typically high-resolution JPGs)
- Print (Adobe RGB or ProPhoto RGB color space, TIFF for highest quality)
- Watermarking: Add if needed, but keep it subtle and professional.
- File naming: Use a consistent naming convention that works for you and your clients.
- Metadata: Ensure copyright and usage information is included.
Step 8: Archive and Backup
Protect your work with a reliable archiving system:
- Maintain your catalog: Regularly optimize and back up your Lightroom catalog or image database.
- Archive completed projects: Store on multiple drives using the 3-2-1 backup rule:
- 3 copies of your data
- 2 different types of storage media
- 1 copy stored off-site or in the cloud
- Document your workflow: Keep notes on special techniques or decisions for future reference.
Balancing Efficiency and Quality
A good workflow balances thoroughness with efficiency:
- Batch similar images: Edit one image from a sequence, then sync settings to others.
- Use presets strategically: Apply as starting points, then refine individual images.
- Know when to stop: Not every image needs extensive editing. Sometimes subtle adjustments are all that's required.
- Prioritize your time: Spend the most effort on your best images and those most important to clients.
Developing Your Personal Style
As you refine your workflow, you'll naturally develop a distinctive style:
- Study photographers whose work you admire, but don't simply copy their look.
- Experiment with different approaches to find what resonates with your vision.
- Create a consistent look across your portfolio while allowing flexibility for different subjects.
- Revisit older work periodically to see how your style has evolved.
Remember that post-processing is both technical and artistic. The best results come when you have a strong technical foundation that allows your creative vision to shine through without being hindered by technical limitations.
As with any aspect of photography, mastering post-processing takes practice. Be patient with yourself, continue learning, and focus on developing a workflow that produces results you're proud of while being efficient enough to sustain your photography practice.