Natural light is one of the most powerful tools in a photographer's arsenal. Unlike artificial lighting, it's free, abundant, and can create a range of moods and atmospheres in your images. However, working with natural light requires understanding its qualities, behaviors, and how to manipulate it effectively. In this guide, we'll explore how to master natural light photography in various conditions.
Understanding Light Quality
Before diving into specific lighting scenarios, it's important to understand the fundamental qualities of light:
- Hard Light vs. Soft Light: Hard light creates strong, defined shadows and high contrast. It's typically produced by small, direct light sources like the midday sun. Soft light creates gentle, diffused shadows and lower contrast, typically from large, diffused sources like an overcast sky.
- Direction: The angle of light relative to your subject dramatically affects the look of your image. Front lighting, side lighting, back lighting, and top lighting each create different effects.
- Color Temperature: Natural light changes color throughout the day, from the warm golden tones of sunrise/sunset to the cooler blue tones of midday.
 Comparison of hard light (left) and soft light (right) on the same subject
Golden Hour: The Photographer's Paradise
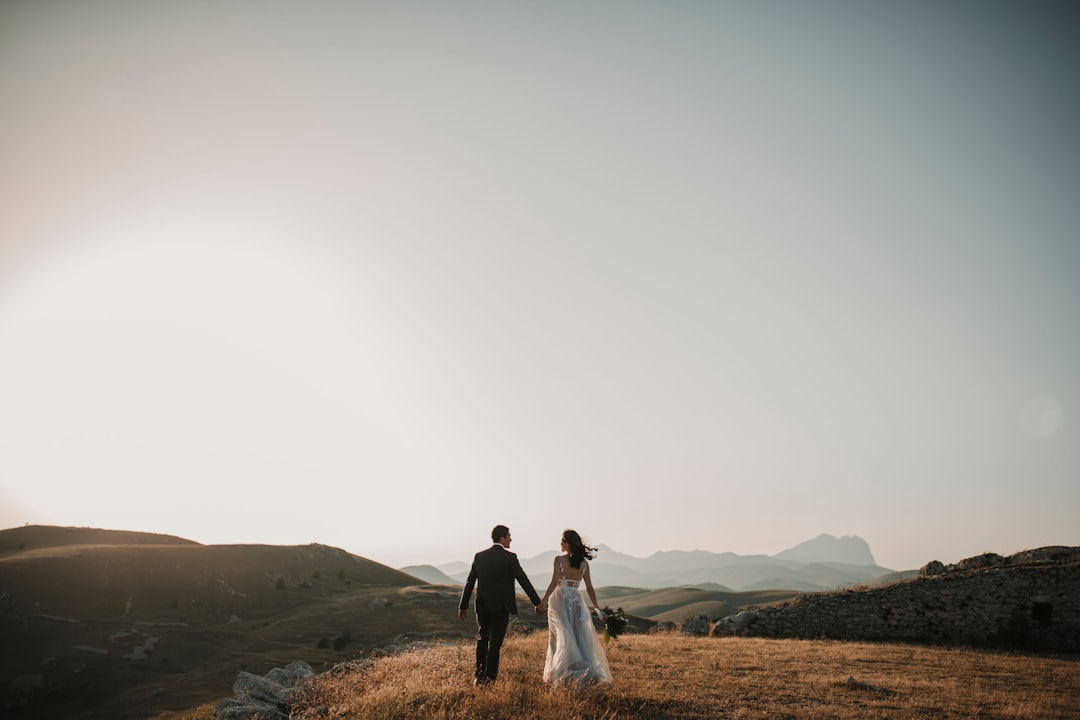
The golden hour refers to the period shortly after sunrise or before sunset when the sun is low in the sky, creating warm, golden light with long, soft shadows. This is widely considered the best time for natural light photography.
Why it works:
- The low angle of the sun creates directional light that adds dimension and texture
- The warm color temperature adds a pleasing glow to skin tones and landscapes
- The softer light is flattering for portraits and reduces harsh shadows
- Long shadows add depth and visual interest to landscapes and architectural shots
Tips for golden hour photography:
- Plan ahead! Golden hour doesn't last long, especially in winter months
- Use apps like PhotoPills or The Photographer's Ephemeris to predict exact golden hour times for your location
- For portraits, position your subject so the sun is behind or to the side of them for beautiful rim lighting
- For landscapes, shoot toward the sun for dramatic silhouettes or with the sun at your side for textured scenes with long shadows
Blue Hour: The Overlooked Gem
Blue hour occurs just before sunrise and just after sunset when the sky takes on deep blue tones. While less known than golden hour, it offers unique opportunities for photography.
Why it works:
- The soft, even light creates a moody, atmospheric quality
- City lights begin to glow while there's still enough ambient light to see details
- The blue tones create a cool, calm aesthetic perfect for certain scenes
Tips for blue hour photography:
- Use a tripod as light levels will be low
- Urban landscapes and architecture shine during blue hour
- For portraits, consider using reflectors or subtle fill flash to illuminate your subject while maintaining the blue hour ambiance
 Blue hour creates a magical atmosphere for urban landscapes
Midday Light: Taming the Challenge
Midday light (10am-2pm) is often avoided by photographers due to its harsh, overhead quality that creates unflattering shadows. However, with the right techniques, you can still create beautiful images during these hours.
Techniques for managing midday light:
- Find Shade: Position your subject in open shade from a building or tree to create soft, even lighting.
- Use Reflectors: Bounce light back onto your subject to fill harsh shadows. White reflectors soften light, while silver ones provide more contrast.
- Create Your Own Shade: Use a diffuser (like a translucent scrim) above your subject to soften harsh sunlight.
- Embrace Contrast: Sometimes, the high contrast of midday light can be used creatively for dramatic black and white images or to emphasize textures.
- Shoot Backlit: Position the sun behind your subject to create rim lighting and avoid harsh facial shadows. This requires careful exposure, often exposing for the shadow areas.
Overcast Days: The Giant Softbox
Many photographers dismay at cloudy days, but overcast skies act as a giant softbox, creating soft, diffused light that's excellent for many types of photography.
Benefits of overcast light:
- Soft, even illumination that's flattering for portraits
- Reduced contrast makes it easier to capture details in both highlights and shadows
- Colors appear more saturated without harsh sunlight washing them out
- No need to worry about changing light conditions or harsh shadows
Tips for overcast day photography:
- Perfect for portraits, macro photography, woodland scenes, and waterfalls
- May need to increase exposure compensation (+0.3 to +0.7) as camera meters can be fooled by the even gray light
- Consider including less sky in compositions, or using it to create a moody atmosphere
- Boost contrast slightly in post-processing to add depth that the flat light might lack
 Overcast light creates soft, even illumination perfect for portraits and saturated colors
Window Light: The Indoor Natural Light Studio
Window light is perhaps the most accessible form of natural light, creating beautiful, directional illumination that mimics studio lighting.
Tips for window light photography:
- Large windows create softer light; small windows create more defined shadows
- North-facing windows (in the Northern hemisphere) provide consistent, soft light throughout the day
- Position your subject at various angles to the window to create different lighting patterns:
- 45° to the window for Rembrandt lighting (triangle of light on the cheek)
- 90° to the window for split lighting (half the face lit, half in shadow)
- Facing the window for flat, even lighting
- Use reflectors on the shadow side to fill in darkness and control contrast
- Sheer curtains can diffuse harsh direct sunlight, creating softer illumination
Using Reflectors and Diffusers
Reflectors and diffusers are affordable tools that give you more control over natural light:
Reflectors:
- White: Provides soft fill light without changing color temperature
- Silver: Creates stronger, more contrasty reflection
- Gold: Adds warm tones, excellent for sunset-like glow
- Black: Absorbs light, deepening shadows for more dramatic looks
Diffusers:
- Place between the sun and your subject to soften harsh direct light
- Reduces contrast and creates more flattering illumination
- Can be used overhead or at an angle depending on the desired effect
Conclusion: Practice and Observation
Mastering natural light comes with practice and careful observation. Start paying attention to how light interacts with different subjects and environments throughout the day. Take test shots in various lighting conditions and study the results.
Remember that "good light" depends on what you're trying to achieve. Sometimes harsh midday light might be perfect for creating a specific mood, while the golden hour might not always suit your creative vision. Understanding the characteristics of different lighting scenarios allows you to make informed decisions about when and how to shoot.
The more you work with natural light, the more intuitive your understanding will become, allowing you to anticipate how a scene will look and how to position yourself and your subject for the best results.